Hey everyone, if you’ve ever tried installing SPC door skin (especially if you’re a DIYer, contractor, or even a store owner doing quick updates), you know the worst part—those annoying air bubbles that get trapped between the SPC layer and the door, right? I’m [me, your go-to SPC door skin supplier], and I’ve gotten so many messages over the years going, “Ugh, I followed the instructions but still have bubbles all over!” The thing is, it’s not about messing up the instructions—it’s about skipping the tiny, non-obvious steps that actually keep bubbles at bay. Today I’m breaking this down like I chat with my regular clients, no fancy jargon, just real tips that work. SPC Door Skin
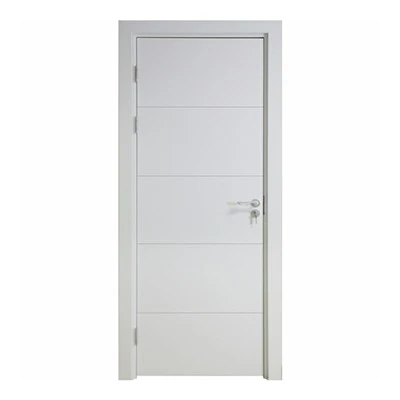
First, let’s get one thing straight: SPC door skin isn’t like vinyl wrap or old wood veneer. It’s rigid stone-plastic composite, so it doesn’t stretch or bend the way flexible materials do. That means bubbles don’t “work themselves out” later—you have to eliminate them before they stick. I’ve seen guys rush through prep work and end up peeling the whole thing off and starting over. Trust me, that’s a waste of time and material. Let’s start with the prep, because that’s 70% of the battle.
Prep Work: Don’t Skip These 3 Non-Negotiable Steps
I can’t count how many times a customer calls me panicking because their door is textured, or it has leftover paint, and they didn’t sand it. Here’s the deal: SPC needs a smooth, clean base. If your door has even a tiny ridge (like from old wallpaper glue or a scratch) or a bump of paint, that’s a perfect place for air to hide. Let’s break it down:
- Clean the door like it’s your own kitchen counter before company comes. No, just wiping it with a rag isn’t enough. Use a mix of warm water and a tiny bit of dish soap (the kind that cuts grease works best) and scrub every inch—top, bottom, sides, edges, all the nooks. Then dry it completely with a lint-free microfiber cloth. Wait, wait—don’t skip the drying! Even a drop of water under SPC will turn into a bubble as it evaporates later. I’ve had a client last month who thought air bubbles were from the skin being bad, but it turned out he used a damp paper towel to wipe it. Oops. After drying, take a 90% isopropyl alcohol wipe and go over the whole door again. That removes any leftover soap residue or invisible dust that you can’t see with the naked eye. Dust is the #1 hidden bubble culprit, I swear.
- Sand if your door has texture or a glossy finish. If your door is a smooth wood or MDF? Maybe skip this, but if it’s textured (like a raised-panel door with little grooves) or has a shiny paint job, grab 120-grit sandpaper and lightly buff the whole surface. You don’t need to sand until it looks rough—just enough to dull the shine and smooth out any texture bumps. Then wipe the dust off again with that microfiber cloth. No dust = no air pockets from tiny particles.
- Let the SPC skin acclimate—no unboxing right before install. This is another mistake I see all the time. SPC is rigid, and if it’s sitting in a cold warehouse or your truck, it’s going to be stiff. Bring it inside your workspace 24 hours before you plan to install it. Let it sit flat, out of direct sunlight. Why? Because when it’s room temperature, it’s slightly more flexible (but not too much!) and less likely to snap or trap air when you apply it. I used to tell clients to unbox it day of, but now I’m like, “Do yourself a favor, bring it in the night before.” It makes such a difference.
The Install Step: How to Stick It Without Bubbles
Okay, so prep is done. Now the actual sticking part. A lot of people use regular contact adhesive, but I recommend a high-tack, pressure-sensitive adhesive that’s made for rigid materials (I can point you to the right kind if you message me, but you know what works from most hardware stores’ “heavy-duty for wood/metal/plastic” section). Here’s the trick—do NOT peel the whole backing off at once. That’s how bubbles happen.
- Mask it first, not just measure. First, measure your door twice. Cut the SPC skin 1/4 inch wider than the door on all sides—give yourself a little wiggle room. Now, take painter’s tape and stick a 1-inch strip along the TOP edge of the door, exactly where you want the SPC to line up. Don’t stick the SPC down yet—just the tape. This is your alignment guide.
- Peel half the backing at a time. Start with the top half. Peel the backing off the TOP 12 inches of the SPC skin, not more. Align that top edge with the painter’s tape, and press that small section firmly to the door with your palm. Then, slowly peel the remaining backing as you go down, using a flat tool to smooth it as you go. Wait, what flat tool? Not a credit card (too flimsy) — a plastic squeegee (the kind used for window tint) or a hard rubber roller, but not the sticky kind. Hold the tool at a 45-degree angle, and from the center of the SPC skin, push outward toward the edges. This is key! If you push from the edges inward, you trap air in the middle. Push from the center out, and all the air gets pushed to the sides where it can escape.
- Edges and corners—this is where bubbles love to hide. The sides and bottom of the door are the worst. When you get to the edges, don’t just trim the excess right away. Fold the SPC skin over the edge, and use a small piece of the squeegee to press it into the corner. For raised-panel doors (those with the little indentations), use a plastic spudger (a soft, flat tool) to work the SPC into the grooves. Don’t force it—if you feel resistance, go back and check if there’s a bubble under the section, not the corner itself. For the bottom edge, I like to leave a little extra (1/8 inch) and tuck it under the door threshold later, but if you trim it flush, make sure you seal that edge with a tiny dab of adhesive so no air gets in later.
What If You Do Get a Bubble? Fix It Fast
Even if you do everything right, a tiny bubble might sneak in. Don’t panic—here’s how to fix it without ruining the SPC. If the bubble is smaller than a pea, take a pin (a straight pin works great) and poke a tiny hole in the center of it. Then, take your squeegee and push the air out through the hole. The hole will be almost invisible, and it won’t leave a mark. If the bubble is bigger (like a dime), use a utility knife to make a small slit along one edge of the bubble, then smooth out the air. Then, dab a little adhesive behind the slit and press it flat again. Just don’t cut all the way through the SPC layer—only the top protective film, and even that, be gentle. I’ve fixed so many bubbles this way, no need to start over.
Pro Tips From Our Team (We Tested 100+ Installs)
At our SPC door skin warehouse, we’ve done install tests with contractors and DIYers, and these are the small tricks that make all the difference:
- Wear lint-free gloves. Your hands have oil and dust, which can leave marks, but also, if your fingers are dirty, they can catch air bubbles when you’re pressing the SPC down.
- Don’t install in extreme temps. If it’s under 50°F (10°C) in your workspace, the SPC is too stiff and can crack. If it’s over 90°F (32°C), the adhesive might dry too fast and trap bubbles. Aim for 60-75°F (15-24°C) — perfect.
- For double doors, line them up first. If you’re doing two doors in a row, measure both, mark their positions, and apply the SPC to the first door completely before starting the second. That way, you don’t rush and skip the alignment step.
Now, why am I sharing all this? Because I’m not just a supplier—I’m the guy who talks to you when your SPC door skin arrives, and I get excited when you tell me your install went smooth. I don’t want you to waste money on materials because of a silly bubble mistake. If you’re gearing up for a big project (like renovating an entire apartment building’s doors, or updating your home’s interior), or if you’re just a DIYer who wants that professional finish without the hassle, reach out to chat. We can talk about the right SPC thickness for your door, any custom cuts you need, and answer all your install questions no matter how small.
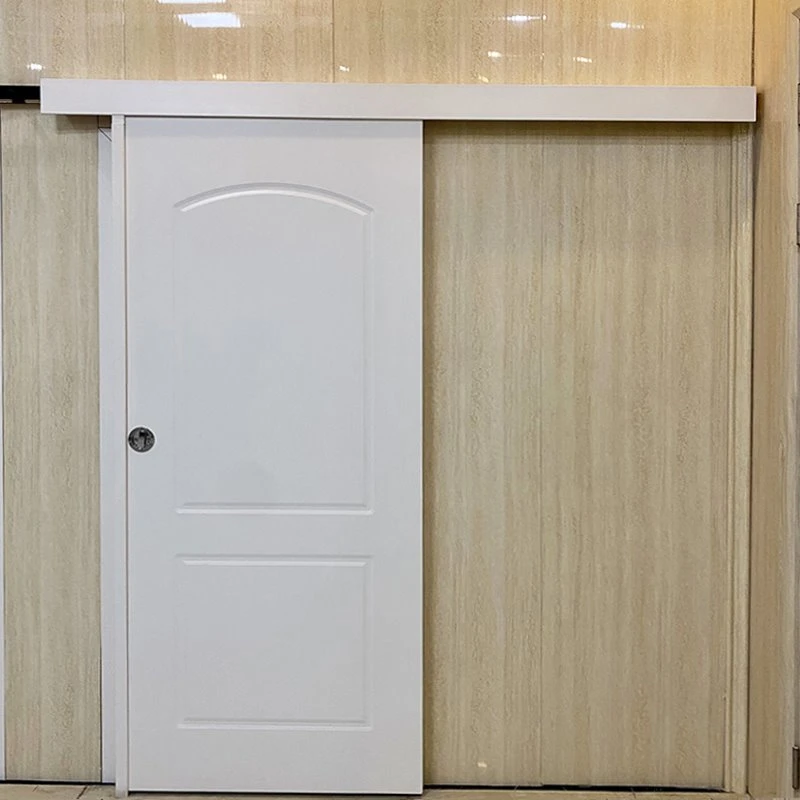
Just to wrap this up: bubbles on SPC door skin aren’t a flaw in the product—they’re almost always from skipping prep, rushing the install, or peeling too much backing at once. Stick to the steps, take your time, and you’ll have a door skin that looks seamless, no bubbles, for years.
Surface Finished WPC Doors If you have questions about SPC door skin, install techniques, or bulk orders, get in touch to work out the details. I’m here to help you get the perfect result, not just sell you a product.
References
- International Window Film Association. (2022). “Proper Installation Practices for Rigid Composite Wall and Door Materials.”
- SPC Industry Technical Guide. (2021). “Surface Preparation Standards for Installation of Rigid Stone-Plastic Composite Sheets.”
- DIY Home Improvement Association. (2023). “Common Mistakes in Adhesive-Backed Door Skin Installation.”
Shandong Xinhongyuan Industrial Co., Ltd.
Shandong Xinhongyuan Industrial Co., Ltd. is one of the most experienced SPC door skin manufacturers and suppliers in China. We have world-leading production equipment and strong manufacturing capabilities. Please feel free to buy bulk high quality SPC door skin made in China here from our factory. We also accept customized orders.
Address: No. 47, National Highway 104, Economic Development Zone, Weishan County, Jining City, Shandong Province
E-mail: tongjiayidoors@gmail.com
WebSite: https://www.sdxhywpcdoors.com/
